Checking for continuity with a multimeter is one of the most useful skills for anyone working with electronics, appliances, or even basic home repairs. Continuity means that a circuit is complete and electricity can flow from one point to another without any interruption.
When a circuit is broken, devices stop working, lights don’t turn on, or motors won’t spin. Learning to check continuity helps you find faults quickly and avoid replacing parts that are still good.
Many beginners think using a multimeter is complicated, but continuity testing is actually one of the simplest functions. In this guide, you’ll learn how to use a multimeter for continuity testing, what you need to prepare, why continuity matters, and how to troubleshoot common problems.
You’ll get practical tips, real-world examples, and answers to the most common questions people have about this important skill. Whether you’re a hobbyist, a student, or a homeowner, mastering continuity checks will make your electrical work much easier and safer.
What Is Continuity?
Continuity means a complete electrical path between two points. When the path is continuous, electricity can flow. If the path is broken (for example, by a cut wire, a burnt-out fuse, or a faulty switch), there is no continuity.
A simple way to understand continuity is to imagine a water hose. If there are no holes or blockages, water flows from one end to the other. If there’s a cut or blockage, the water stops. Electricity works in a similar way.
Multimeters check for continuity by sending a small current through the circuit. If current flows, the meter beeps or shows a low resistance value. If the circuit is open, the meter stays silent or shows a very high resistance.
Why Continuity Testing Matters
Continuity testing is not only for electricians or engineers. Anyone who deals with electrical devices will eventually need to find out why something isn’t working. Here’s why it’s so important:
- It helps you identify broken wires or components quickly.
- You can check if fuses, switches, and relays are working.
- It prevents replacing good parts by mistake.
- It reduces the risk of electric shock by confirming circuits are safe.
Many electronic devices fail because of simple breaks in the circuit. With a continuity test, you can spot these problems in seconds.

Credit: www.youtube.com
Types Of Multimeters For Continuity Checks
There are two main types of multimeters: analog and digital. Both can test continuity, but digital multimeters (DMMs) are more common today.
| Type | Display | Accuracy | Continuity Feature | Price |
|---|---|---|---|---|
| Analog Multimeter | Needle | Lower | Usually no beep | Low |
| Digital Multimeter | LCD | High | Beep + Symbol | Low to Medium |
| Advanced DMM | LCD/Graph | Very High | Beep, Visual, Smart Modes | Medium to High |
Digital multimeters are preferred because they’re easy to read, more accurate, and most models include a special continuity mode with a sound signal. This means you don’t even have to look at the display while testing—you can listen for the beep.
Preparing For A Continuity Test
Before you start, make sure you have:
- A multimeter with continuity testing function (look for a symbol like a sound wave or diode).
- Two test probes (red and black, included with your multimeter).
- The circuit or component you want to test.
- Safety knowledge: Always test with the power off to avoid shock or damaging your meter.
Pro Tip: Some beginners forget to turn off the circuit before testing. This can destroy your multimeter or give you a shock. Always double-check that power is off.
Multimeter Symbols And Settings
Not all multimeters look the same, but most use standard symbols. For continuity, look for:
- Sound wave symbol (looks like Wi-Fi or a speaker)
- Sometimes combined with the diode symbol (triangle with a line)
Set your multimeter’s dial to this symbol. On some models, you might need to press a button to activate the sound.
If your multimeter doesn’t have a continuity setting, use the lowest resistance (Ω) setting. A reading close to zero means continuity.
Step-by-step: How To Check For Continuity
Let’s break down the process into clear steps. It’s easier than you think.
1. Turn Off Power
Make sure the device or circuit is not connected to any power source. Remove batteries or unplug from the wall. This prevents accidents.
2. Set The Multimeter
Turn the dial to the continuity setting (sound wave or diode symbol). If your meter beeps when you touch the two probes together, it’s ready.
3. Test The Probes
Touch the red and black probes together. The meter should beep or show a value close to 0 Ω. This confirms your meter is working.
4. Connect Probes To The Circuit
Place one probe on each end of the wire, fuse, switch, or component you want to check. It doesn’t matter which probe goes where for continuity.
5. Read The Result
- If you hear a beep or see a value under 1 Ω, the circuit is continuous (good).
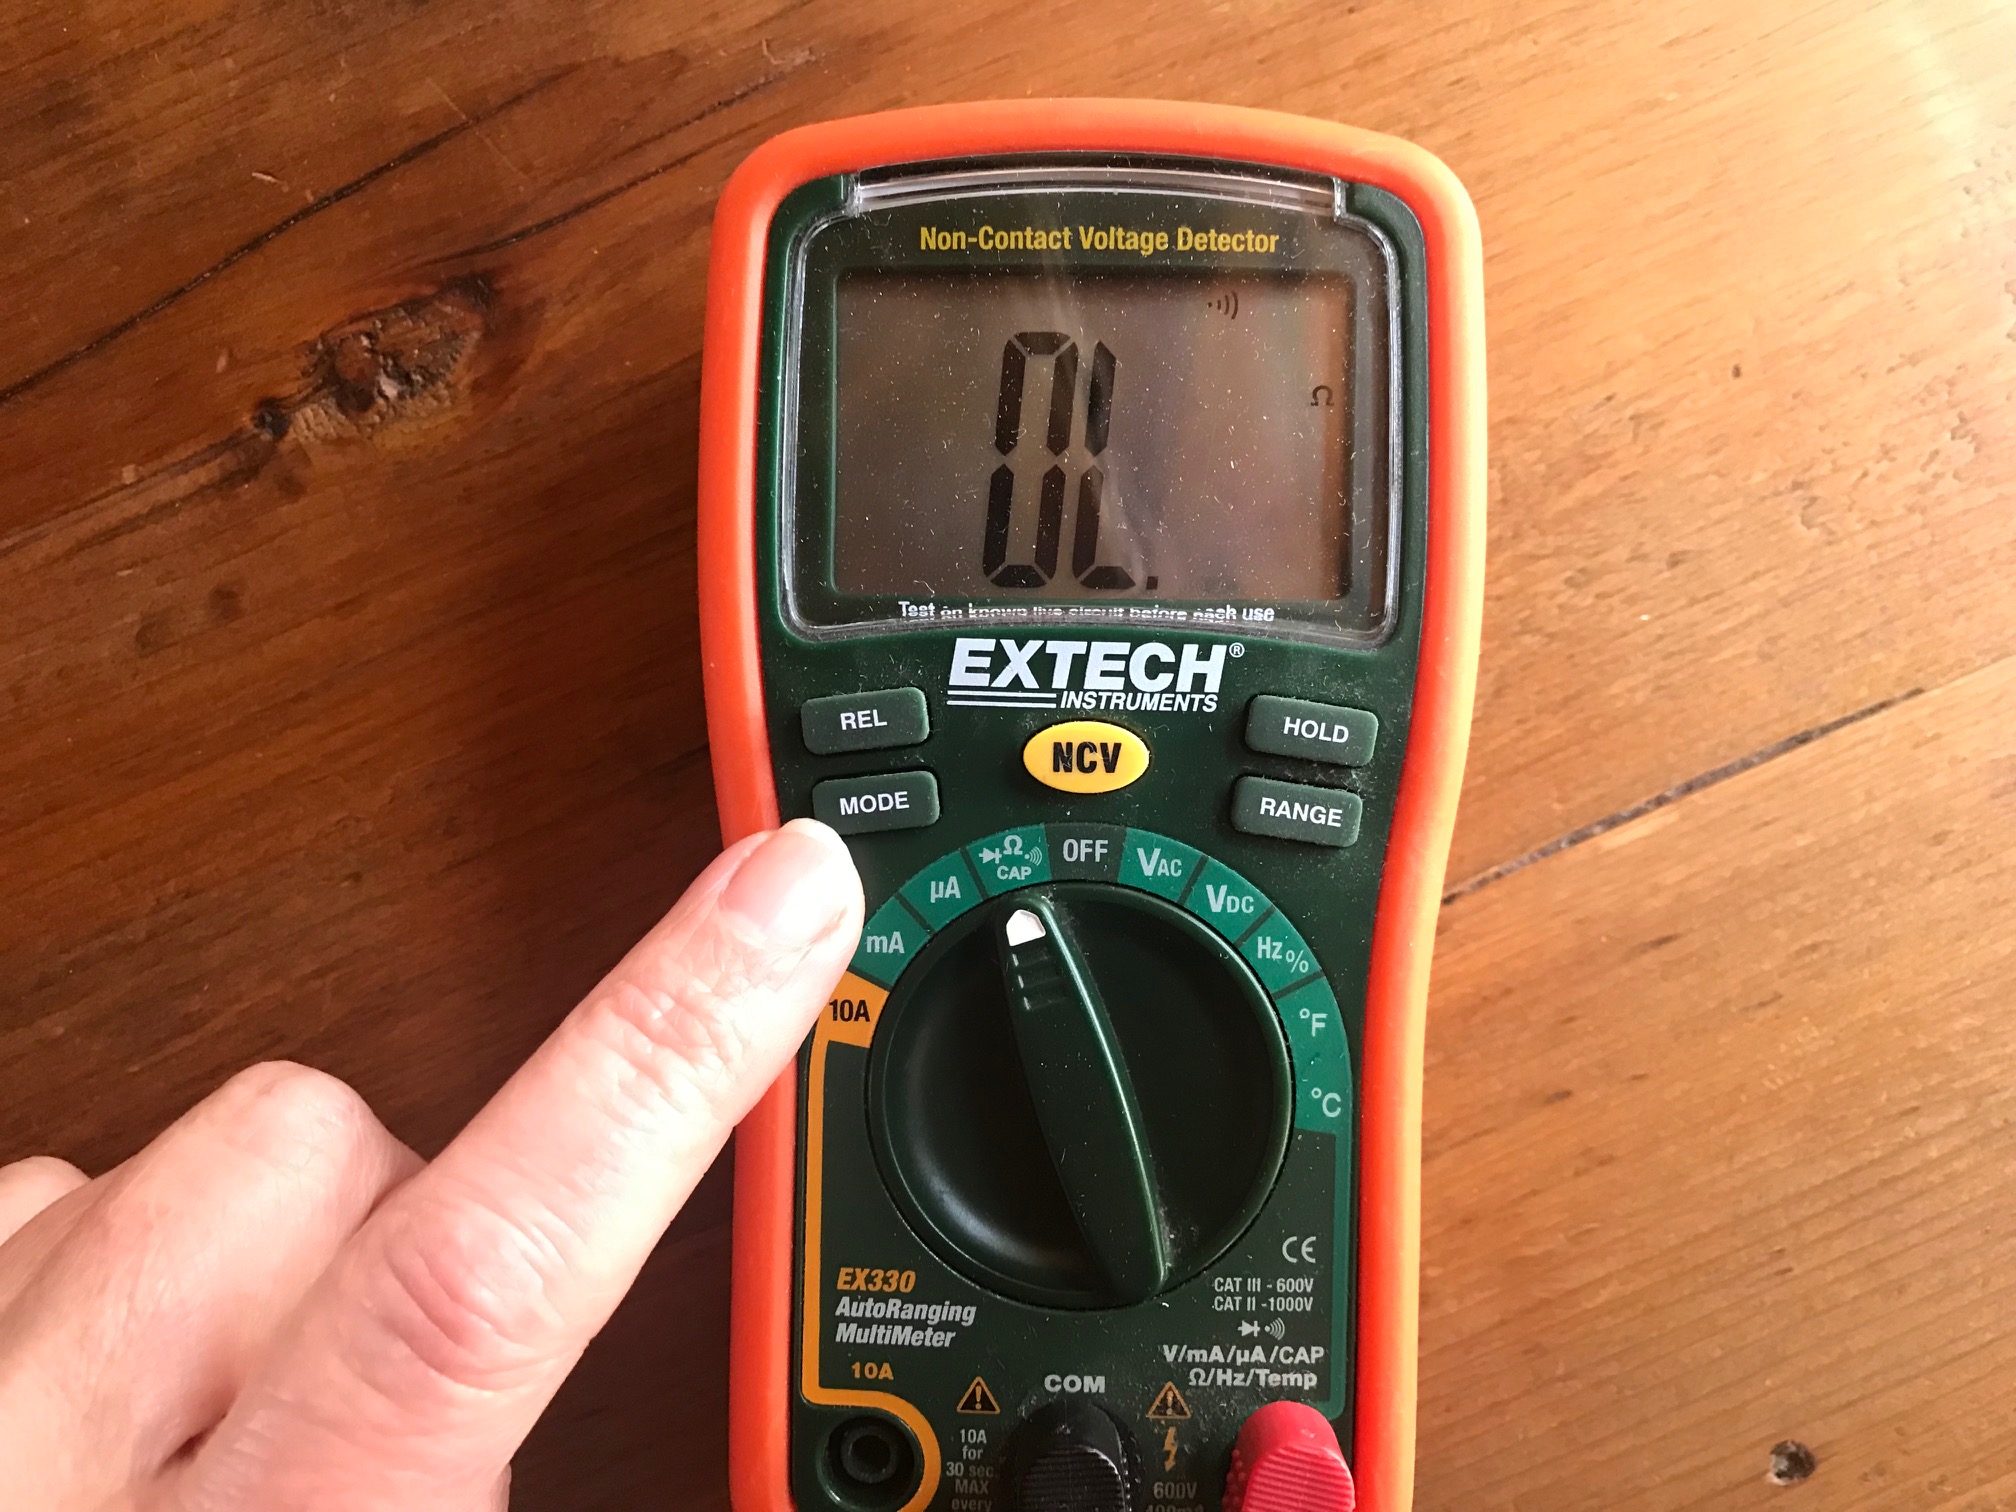
- If there’s no beep or the display shows “OL” (open line), there is no continuity (broken).
Example: You want to check if a lamp’s cord is good. Place one probe at the plug’s metal prong and the other at the wire inside the lamp. If the meter beeps, the cord is fine.
6. Interpret The Results
A beep or low resistance means the path is complete. No beep or a very high number means the path is broken.
Non-obvious insight: Some components, like coils or resistors, naturally have some resistance. If you’re not sure what the value should be, check the component’s datasheet.

Credit: www.fluke.com
Common Applications Of Continuity Testing
You can use continuity testing for many tasks, such as:
- Checking fuses: A good fuse has continuity; a blown fuse is open.
- Verifying switches: When “on,” the switch should have continuity.
- Testing wires and cables: Find breaks or cuts.
- Inspecting circuit boards: Check if tracks are complete.
- Examining relays and connectors: Confirm solid connections.
Practical tip: If you’re repairing headphones, continuity testing helps you find which wire is broken inside the cable.
Continuity Test Vs. Resistance Test
Many people confuse continuity tests with resistance (ohms) tests. They are similar but not the same. Continuity testing checks if the path exists; resistance measures how hard it is for current to flow.
Here’s a quick comparison:
| Feature | Continuity Test | Resistance Test |
|---|---|---|
| Main Purpose | Checks for complete path | Measures opposition to current flow |
| Display | Beep or 0 Ω | Numeric value (e.g., 100 Ω) |
| Use Case | Finding breaks/faults | Testing resistors/components |
| Speed | Instant | May take longer |
If you only want to know if a wire is broken, use continuity. If you need to know the exact resistance, use the resistance setting.
Safety Tips For Continuity Testing
Testing continuity is generally safe, but mistakes can cause injury or damage. Follow these rules for safety:
- Always power off the circuit before testing.
- Disconnect one side of the component from the circuit, if possible, to avoid “back paths” that can confuse your readings.
- Use only the continuity or resistance settings—never use voltage settings for this test.
- Never test continuity on a live circuit.
Beginner mistake: Some people test continuity on a live circuit and damage their multimeter or get a shock. Don’t do this.
Troubleshooting Continuity Test Problems
Sometimes, your test doesn’t go as expected. Here’s how to solve common issues:
- No beep when probes touch: Check if the meter is set to continuity mode, replace batteries, or try a different multimeter.
- False beep in circuit: Remove the component from the circuit and test again. Parallel paths can trick the meter.
- Meter always shows continuity: Probes may be dirty or touching each other. Clean the tips and check again.
Non-obvious insight: Some cheap multimeters have slow or unreliable continuity beeps. If your meter responds slowly, try a better model for more accurate testing.
Examples: Real-world Continuity Checks
Let’s look at a few practical examples.
Checking A Fuse
A car radio stops working. Remove the fuse, set your meter to continuity, and touch both ends of the fuse. A beep means the fuse is good. Silence means it’s blown.
Testing A Light Switch
A room light won’t turn on. With power off, remove the switch cover and test between the two terminals. If there’s continuity when the switch is “on,” the switch works. No continuity means it’s faulty.
Inspecting Extension Cord
Your extension cord doesn’t power devices. With power off, touch one probe to a prong and the other to the socket’s end. No beep means there’s a break somewhere in the cord.
Diagnosing A Circuit Board
A gadget doesn’t work after a drop. Check the tracks on the circuit board for continuity. A broken track will show “open” (no beep), pointing to the problem spot.
Choosing The Right Multimeter For Continuity
Not all multimeters are equal when it comes to continuity testing. Here’s what to look for:
- Audible beep: Makes it easier to test without looking at the screen.
- Fast response time: Some meters beep instantly, while others lag.
- Clear display: Large, easy-to-read numbers help, especially in low light.
- Good build quality: Cheap meters can give false readings or break easily.
You don’t need to buy the most expensive model. Even entry-level digital multimeters, costing $10–$30, are usually good enough for continuity tests.
Pro tip: Read reviews and check if your meter’s beep is fast and reliable before buying.
Advanced Continuity Testing Techniques
As you gain experience, you’ll find situations where basic continuity checks aren’t enough. Here are some advanced tips:
- Check under load: Sometimes, a wire seems fine with no current but fails under real current. Use a test lamp or apply a small load to double-check.
- Use test leads with alligator clips: These allow hands-free operation when you need to check long wires or awkward components.
- Map complex circuits: For multi-wire cables, label each wire and check continuity one by one to avoid confusion.
Expert insight: Some multimeters have a “smart” mode that automatically selects continuity or resistance based on what you touch. This can save time but always double-check with manual settings for critical work.
Mistakes To Avoid When Checking Continuity
Even experienced users can make errors. Avoid these common mistakes:
- Testing on a powered circuit: This can destroy your meter.
- Not isolating the component: Other paths in the circuit can give false continuity.
- Ignoring slow beeps: A meter with a delayed beep can miss brief breaks in wires.
- Testing high-voltage components: Some parts can store energy even when off (like capacitors). Always discharge these first.
Practical tip: Always keep your hands away from exposed wires—even if you believe the circuit is off.
How To Care For Your Multimeter
To keep your tool working well for years:
- Store it in a dry, dust-free place.
- Change batteries regularly.
- Clean the probes with alcohol if they become dirty.
- Don’t drop the meter or yank the test leads.
- Check the fuse inside your meter if it stops working.
A well-maintained multimeter gives more reliable readings and lasts much longer.
Continuity Testing In Different Fields
Continuity testing is not just for electronics. It’s used in many fields:
- Automotive repair: Find broken wires in cars or test sensors.
- Home electrical: Check outlets, switches, doorbells.
- Industrial maintenance: Inspect machine wiring, controls.
- Hobby electronics: Build or fix robots, drones, or DIY gadgets.
Real-world example: HVAC technicians use continuity testing to check thermostat wiring and heating elements.
Continuity Testing Vs. Other Electrical Tests
It’s important to know when to use continuity and when to choose other tests. Here’s a quick comparison:
| Test Type | Main Use | Result |
|---|---|---|
| Continuity | Finding breaks | Beep/No beep |
| Resistance | Measuring ohms | Numeric value |
| Voltage | Checking power presence | Volts display |
| Current | Measuring amps | Amps display |
Always pick the right test for your problem. Continuity is for open/closed paths, resistance for value checking, voltage for live circuits, and current for measuring flow.
Frequently Asked Questions
What Does “ol” Mean On My Multimeter During Continuity Testing?
“OL” stands for Open Loop or Open Line. It means the circuit is open—electricity can’t flow between the two points you are testing. In other words, there is no continuity.
Can I Test Continuity With Power On?
No, you should never test for continuity with the power on. This can damage your multimeter and create a risk of electric shock. Always turn off and unplug the circuit before testing.
What If My Multimeter Doesn’t Beep In Continuity Mode?
Check that you set the dial to the correct symbol (sound wave or diode). Also, test the probes by touching them together. If there’s still no beep, your meter’s battery may be dead, or the meter might not have a sound feature.
Is Continuity Testing The Same As A Short Circuit Test?
Not exactly. Continuity means there’s a path for current to flow. A short circuit is a path where current shouldn’t flow (for example, across a blown fuse). Continuity testing can help identify shorts, but they’re not the same thing.
Where Can I Learn More About Using A Multimeter?
A good starting point is the Wikipedia page on multimeters, which explains different functions and types in detail.
Mastering continuity testing with a multimeter is a simple skill, but it unlocks the power to quickly diagnose problems in all sorts of electrical devices. With a little practice, you’ll be able to find faults, repair devices, and work with electricity more confidently and safely.
Always remember to follow safety rules, use your tools carefully, and double-check your results. With these habits, you’ll save time and avoid costly mistakes in all your electrical projects.
Credit: chibitronics.com