Measuring frequency is a key skill in electronics and electrical work. Whether you are a student, a hobbyist, or a professional technician, knowing how to use a multimeter to check frequency can solve many problems. Sometimes, a device does not work as expected—not because of voltage or current, but because the signal is the wrong frequency.
Understanding this measurement, and being able to do it yourself, is a practical ability that can help in troubleshooting, testing, and building electronic systems.
Many people think a multimeter only measures voltage, current, or resistance. But modern digital multimeters can often measure frequency as well. This feature is sometimes hidden, or not explained clearly in manuals. Learning to use it properly can save you time and make your work more accurate.
In this guide, you will learn exactly how to measure frequency using a multimeter, what to watch out for, and how to avoid common mistakes.
You will also discover what frequency is, why it matters, and how it applies in real-life electronics. The article will walk you through every step, from setting up your multimeter to interpreting the results. You will see examples, practical tips, and even what makes one multimeter better than another for frequency measurements.
By the end, you will feel confident using your multimeter for frequency, not just the basic functions.
What Is Frequency And Why Does It Matter?
Frequency is how often something repeats in a certain amount of time. In electronics, it usually means how many times an electric signal cycles per second. The unit is Hertz (Hz). One Hertz means one cycle per second.
In real life, frequency is everywhere. The power outlets in your home have a frequency (50 Hz or 60 Hz depending on your country). Audio signals, radio waves, and digital clocks all depend on the right frequency to work properly.
If a device runs at the wrong frequency, it may overheat, malfunction, or even break. For example, using a 60 Hz appliance in a 50 Hz country can cause damage. In audio work, incorrect frequency can make a sound too high or too low.
Even small errors in frequency can cause big problems in digital electronics.
How Does A Multimeter Measure Frequency?
A digital multimeter (DMM) can measure many things—voltage, current, resistance, and sometimes frequency. When you set your multimeter to frequency mode, it uses its internal electronics to count the number of cycles coming in through the test leads. It then shows the result in Hertz (Hz), kilohertz (kHz), or megahertz (MHz).
Not all multimeters can measure frequency. You need to check your model’s features. Usually, only digital multimeters (not analog) have this function. Some advanced models go up to several megahertz, while basic ones may only measure up to 100 kHz.
The way a multimeter measures frequency is by detecting zero crossings in the signal. Every time the signal crosses zero volts (going up or down), the meter counts one cycle. After a set time (usually one second), it displays the total cycles per second.
Key Terms
- Frequency (Hz): Cycles per second
- Kilohertz (kHz): 1,000 cycles per second
- Megahertz (MHz): 1,000,000 cycles per second
- Duty cycle: How long a signal is “on” versus “off” in each cycle
Types Of Multimeters And Frequency Measurement
Not all multimeters are equal when it comes to frequency. Here is a comparison of three common types.
| Type | Frequency Function | Typical Range | Best For |
|---|---|---|---|
| Basic Digital Multimeter | Often none | — | Simple household tasks |
| Standard DMM | Yes | Up to 100 kHz | Electronics, automotive |
| Advanced DMM | Yes (more accurate) | Up to 10 MHz or more | Professional, labs |
Insight: Many people buy a basic multimeter and are surprised when they cannot find a frequency mode. Always check your device’s manual or look for a Hz symbol.
When Do You Need To Measure Frequency?
There are many situations where checking frequency is important:
- Checking power supplies: AC mains have standard frequencies (50/60 Hz). Mismatched frequencies can damage equipment.
- Testing generators and inverters: Ensure output matches expected frequency.
- Audio and sound equipment: Confirm signals are at the right frequency for speakers and amplifiers.
- Troubleshooting timing circuits: Oscillators, clocks, and timers must run at the correct speed.
- Verifying digital signals: Microcontrollers and computers need accurate clock signals.
- Repairing household appliances: Some kitchen devices, fans, and heaters depend on frequency.
- Industrial equipment: Motors, drives, and PLCs often require exact frequency settings.
Non-obvious tip: Sometimes, electronic devices fail only under real load. Measuring frequency while the device is operating normally (not just powered on) gives a more reliable result.
Credit: www.norwegiancreations.com
What Signals Can You Measure?
A multimeter’s frequency function works best with clean, repetitive signals. Examples are:
- Sine waves (like AC power)
- Square waves (digital clocks)
- Pulses (timing signals)
But, there are limits. Most multimeters cannot measure frequency well if the signal is very weak, noisy, or has a strange shape. They may show an error or a wrong reading.
Common mistake: Trying to measure frequency on a noisy line, or on a high-voltage circuit without proper settings. This can damage the meter or give wrong results.
Step-by-step: How To Measure Frequency With A Multimeter
Let’s get practical. Here’s how you actually use a multimeter to measure frequency, step by step.
1. Check Your Multimeter
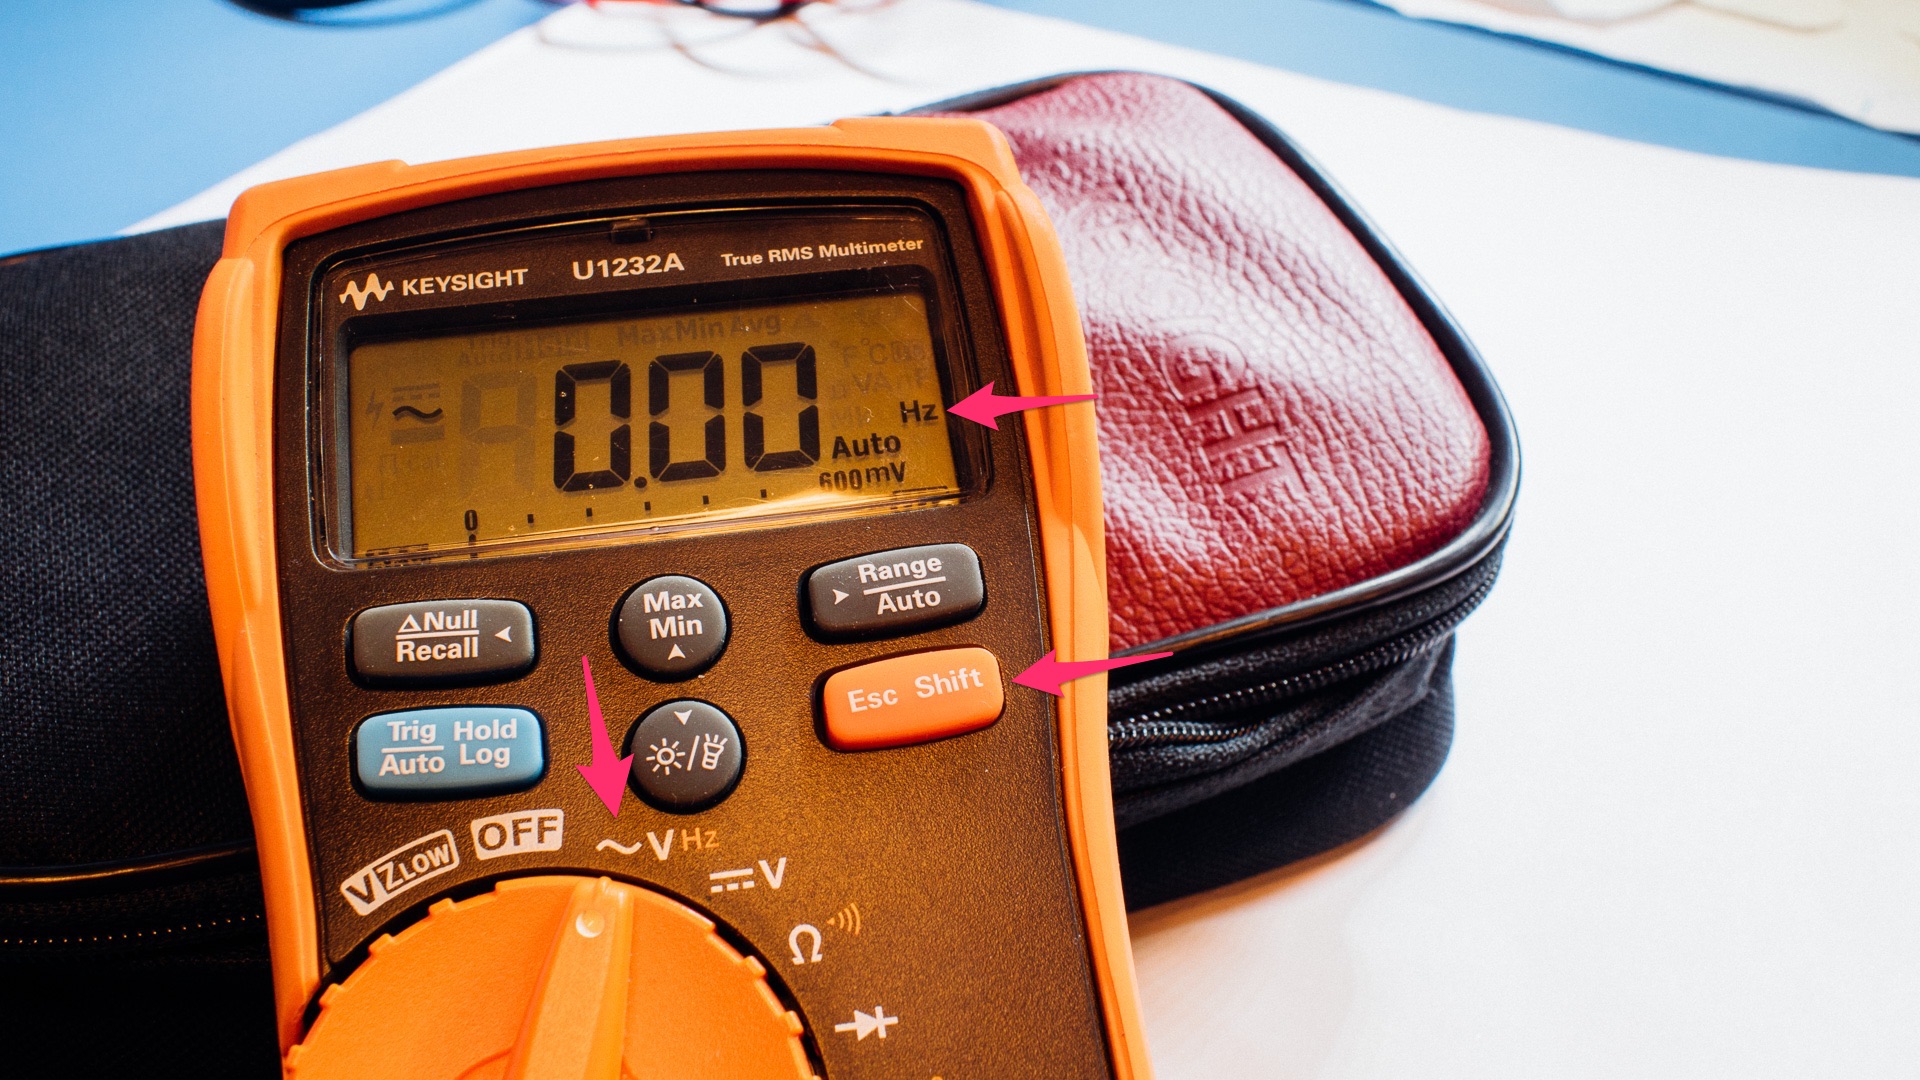
First, check if your multimeter can measure frequency. Look for a Hz symbol on the dial or a button that says “Hz”. If your meter does not have this, you cannot measure frequency directly.
Read your manual to see the maximum frequency your device can measure. Some can only handle up to 10 kHz, others go much higher.
Hidden insight: Some multimeters share the frequency function with another setting (like voltage or current). You may need to press a yellow or blue “shift” button to activate it.
2. Prepare The Circuit
Make sure the circuit or signal you want to measure is safe. If you are measuring household AC, be very careful—high voltage is dangerous.
- Turn off power before connecting leads, if possible.
- If measuring live circuits, use one hand (keep the other away) to reduce shock risk.
- Stand on an insulated surface.
- Use proper safety gear.
Practical tip: For low-voltage circuits (like a signal generator or a microcontroller), safety risk is much lower, but still double-check connections.
3. Set The Multimeter To Frequency Mode
Turn the dial to the Hz setting. If your meter does not have a dedicated position, set it to AC or DC voltage, then press the “Hz” button (often yellow).
Some meters have an auto-range feature. Others let you select the expected frequency range. If you know the signal is less than 1 kHz, set the range low for better accuracy.
Common error: Forgetting to switch from voltage to frequency mode—this gives you a voltage reading, not a frequency reading.
4. Connect The Test Leads
Plug the black lead into the COM (common) jack. Plug the red lead into the V/Hz jack (sometimes labeled just “V”).
Touch the black probe to ground (the reference point in your circuit). Touch the red probe to the signal whose frequency you want to measure.
- For AC outlets: Black to neutral, red to live.
- For a function generator: Black to ground, red to signal output.
Hold the probes steady until the reading appears.
5. Read The Display
The multimeter will show the frequency, usually in Hz, kHz, or MHz. Wait a few seconds for the reading to stabilize.
- If the value jumps or shows “OL” (overload), check your connections.
- If the reading is zero or much lower than expected, the signal may be too weak, or your range is set too high.
Some meters also show duty cycle (the percent of time the signal is “on”). This can be useful for pulse or PWM signals.
6. Interpret And Record The Result
Compare the measured frequency to the expected value. If it is correct, your circuit is likely working well. If not, there may be a problem with the source signal, wiring, or components.
Write down your results, including the measured value, time, and any unusual observations. This helps with troubleshooting later.
7. Disconnect Safely
Remove the probes carefully, especially from high-voltage circuits. Turn off the multimeter when finished to save battery.
Pro insight: Some meters beep or blink when measuring high voltage. Always double-check the range and use caution.
Practical Examples: Measuring Frequency In Real Circuits
Let’s look at some real-world examples.
Example 1: Measuring Ac Mains Frequency
Suppose you want to check if your wall outlet is running at the correct frequency.
- Set your multimeter to frequency mode.
- Insert the probes into the live and neutral slots of the outlet.
- The display should read around 50 Hz (Europe, Asia) or 60 Hz (USA, Canada).
- If it is much different, call an electrician—this is a serious problem.
Warning: Only do this if you are trained and comfortable working with high voltage.
Example 2: Testing A Signal Generator
You are building an audio oscillator and want to verify its output frequency.
- Connect the black probe to the signal generator’s ground.
- Connect the red probe to the output.
- Set the generator to 1,000 Hz (1 kHz). The multimeter should show a reading close to 1,000 Hz.
- Adjust the generator and watch the reading change.
Tip: If the frequency is unstable, check for loose connections or noise.
Example 3: Checking A Microcontroller Clock
A microcontroller uses a crystal oscillator to keep time. You want to check if it runs at 16 MHz.
- Identify the clock pin or test point on the board.
- Connect ground to a safe point.
- Touch the red probe to the clock pin.
- If your multimeter supports MHz range, it should show close to 16,000,000 Hz.
If your meter cannot measure that high, you may need an oscilloscope.
Key Factors Affecting Frequency Measurement Accuracy
Several things can impact how accurate your frequency measurement is:
- Signal strength: Weak signals may not register. Use a buffer or amplifier if needed.
- Signal shape: Non-sinusoidal (square, triangle) signals sometimes confuse the meter.
- Noise: Electrical noise can make readings jump or become inaccurate.
- Input range: Too high or too low a range can cause errors.
- Probe quality: Cheap or damaged probes can introduce errors.
- Meter quality: Cheap meters are less accurate at high or low frequencies.
Non-obvious insight: The input impedance of your multimeter can affect delicate circuits. Some sensitive devices may not work properly with the meter connected.
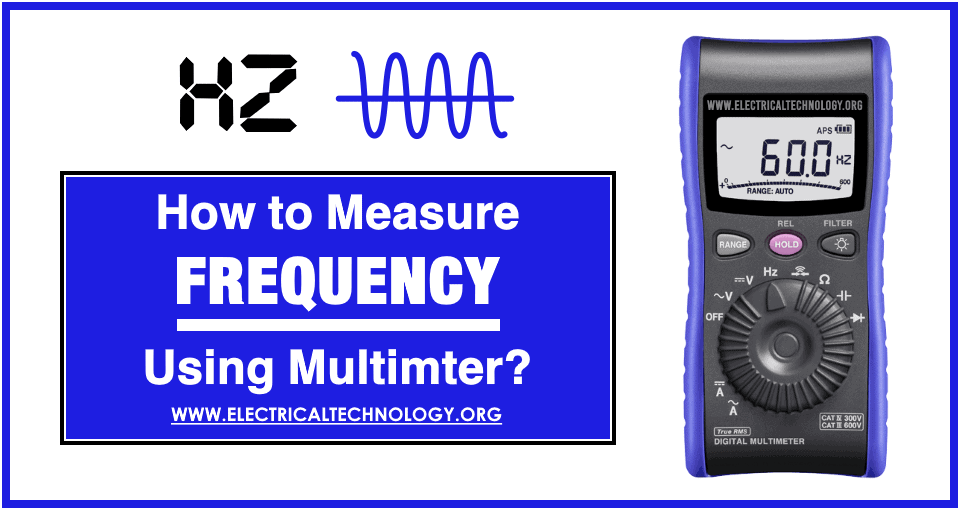
Credit: www.electricaltechnology.org
How To Choose The Right Multimeter For Frequency Measurement
If you plan to measure frequency often, consider these features when buying a multimeter:
| Feature | Why It Matters | Recommended Value |
|---|---|---|
| Frequency Range | Higher range covers more applications | At least 100 kHz; 10 MHz for advanced work |
| Accuracy | Gives precise readings | ±0.1% or better |
| Display Resolution | Easier to read small differences | 4 digits or more |
| Duty Cycle Measurement | Useful for PWM and digital signals | Yes |
| Input Protection | Prevents damage from high voltage | Fused, CAT III rating |
Useful tip: Some meters can log data or connect to a computer for analysis. This is great for long-term monitoring.
Common Mistakes And How To Avoid Them
Even experienced users can make errors. Here are mistakes to watch for:
- Measuring on the wrong setting: Always switch to frequency mode.
- Using the wrong range: Too high or too low can give no reading or overload.
- Connecting leads in the wrong order: This can short the circuit or damage the meter.
- Measuring noisy or unstable signals: Use a filter or a better signal source.
- Ignoring safety: High voltage is always dangerous. Wear gloves and use insulated tools.
- Not reading the manual: Every meter is different—check yours for special instructions.
Non-obvious mistake: Some multimeters require a minimum voltage to measure frequency. If your signal is too small, the meter may not “see” it at all.
Safety Precautions When Measuring Frequency
Safety is always the top priority. Here are essential precautions:
- Do not measure frequency on circuits above your meter’s rated voltage.
- Never touch exposed wires or metal parts while measuring.
- Use one hand, keep the other away from the circuit.
- Stand on an insulated mat if measuring high voltage.
- Replace damaged probes immediately.
- Always turn off power before connecting or disconnecting leads, unless measuring live AC (and then, be extra careful).
Pro tip: If in doubt, ask a more experienced person or use a safer method.
How Frequency Measurement Differs From Voltage, Current, And Resistance
Frequency is a very different measurement compared to voltage, current, or resistance. Here’s a quick comparison:
| Measurement | What It Shows | Typical Use |
|---|---|---|
| Voltage | Electrical potential difference | Checking power, batteries |
| Current | Flow of electric charge | Testing circuits, motors |
| Resistance | Opposition to current | Checking wires, components |
| Frequency | How often signal repeats | Timing, clocks, AC power |
Insight: Even if voltage and current look normal, frequency can still be wrong. Always check all three in troubleshooting.
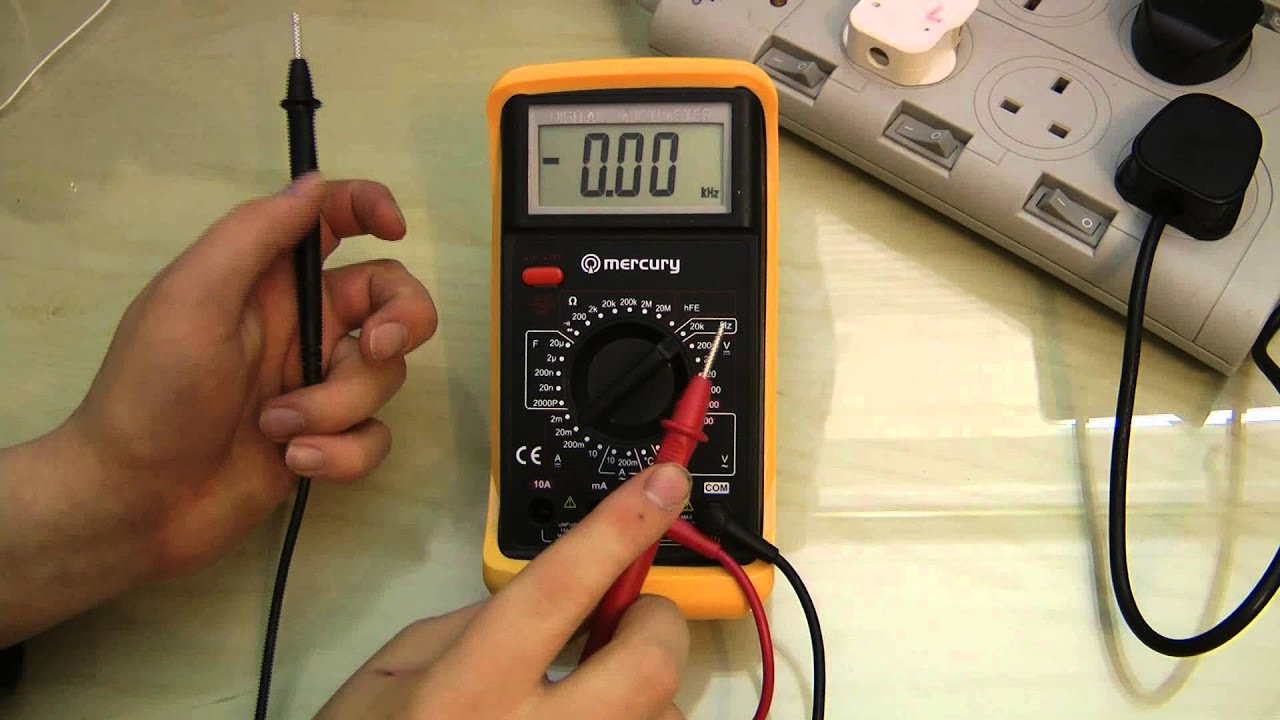
Credit: www.youtube.com
Advanced Tips For Accurate Frequency Measurement
If you want the best accuracy, here are tips from professionals:
- Use shielded cables to reduce noise.
- Measure at the test point closest to the signal source.
- Avoid measuring near motors or transformers—they generate interference.
- If possible, use the averaging function on your meter to get a stable reading.
- For very high frequencies, use an oscilloscope instead of a multimeter.
- Clean your probes regularly; dirt or corrosion can affect readings.
- Calibrate your multimeter every year for best results.
Hidden insight: Some meters have a “hold” function. This lets you capture a reading even if the display jumps.
When Should You Use An Oscilloscope Instead?
A multimeter is great for quick, simple frequency checks, but sometimes you need an oscilloscope. Here’s when:
- Signal is too fast for your multimeter (above its maximum frequency)
- You need to see the actual waveform shape, not just the number
- The signal is complex or has glitches
- You want to measure frequency and other properties (like amplitude, phase, etc.)
Oscilloscopes are more expensive, but they give a full picture of the signal. For most everyday jobs, a good digital multimeter is enough.
Additional Resources
If you want to learn more about frequency and signal testing, the [Wikipedia Frequency Page](https://en.wikipedia.org/wiki/Frequency) offers a thorough explanation of scientific and practical aspects.
Frequently Asked Questions
How Do I Know If My Multimeter Can Measure Frequency?
Look for a Hz symbol on the dial or buttons. Check your manual for “frequency measurement” features. If you can’t find these, your meter probably does not support frequency.
Can I Measure Frequency On Dc Signals?
No. Frequency measurement only works with alternating signals—those that repeat. DC (direct current) does not have cycles, so the frequency is zero.
What Is The Minimum Signal Level Required For Frequency Measurement?
Most meters need a signal of at least 1V peak-to-peak (sometimes more) to measure frequency. Check your manual for the exact value. Weak signals may not register.
Is It Safe To Measure Frequency On Ac Mains Outlets?
It can be dangerous if you are not trained. Always use insulated probes, keep your hands away, and follow strict safety rules. If unsure, ask a professional.
Why Does My Multimeter Show A Wrong Frequency Reading?
Possible reasons include: noisy signal, wrong range, weak signal, or using the wrong setting. Also, check if your probes are clean and the connections are firm.
Measuring frequency with a multimeter is a powerful skill that opens new possibilities in electronics and troubleshooting. With the right technique and attention to detail, you can quickly diagnose problems and keep your devices running smoothly. Remember to always put safety first, and don’t hesitate to seek help if a situation feels risky or confusing.
With practice, your confidence and skills will grow.